How to Install Floating Shelves for Heavy Plants Safely
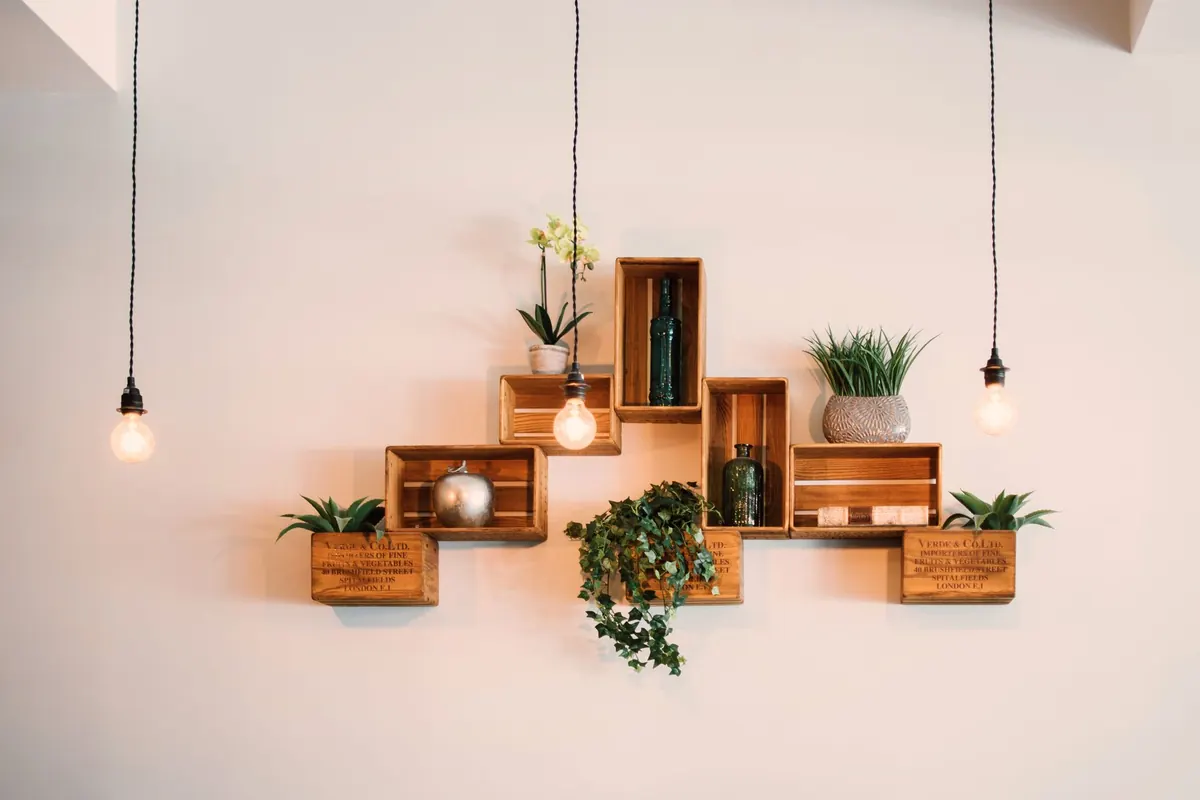
A shelf that hides its brackets looks effortless, and that is exactly the problem. Every kilogram a floating shelf carries has to travel into the wall through a handful of concealed fixing points. A mature fiddle-leaf fig in a glazed pot is a very different proposition from a row of paperbacks. Get the wall type, the fixings and the spacing right, though, and a heavy planter shelf is perfectly achievable. Work through it in this order and you will not have to guess.
Start With the Weight, Not the Shelf
Before you look at anything in a shop, put a rough number on the load. A 25cm pot filled with damp compost and a well-grown houseplant often lands somewhere between 12kg and 18kg. Water is the variable people forget: a pot watered that morning is noticeably heavier than one that has been dry for a fortnight, and a large monstera or rubber plant adds several kilos of its own.
Three pots on a 900mm shelf can easily total 30kg or more. That is a serious load for a piece of furniture with no visible support, so plan for more than you think you need. If the maths looks uncomfortable, two shorter shelves on separate fixings will always beat one long shelf carrying everything.
Think about leverage as well. The further a pot sits from the wall, the harder it pulls the front of the shelf downwards and the more strain it puts on the top fixings. Keep pots as close to the wall as their shape allows, and reserve the front edge for trailing plants rather than your heaviest ceramic.
Identify Your Wall Type Before You Drill
Everything else follows from this one question. Tap the wall, peer at it inside a nearby cupboard, or drill a small test hole somewhere the shelf will hide it.
Solid masonry
Brick, blockwork and stone are the simplest walls to work with. You can fix directly into them with proper masonry anchors and have real confidence in the result, provided the brickwork is sound and you avoid mortar joints, which crumble and grip poorly. Drill on a slow speed without hammer action to start, then engage the hammer once you are past the plaster.
Timber stud partition with plasterboard
Common in modern homes. Studs typically run vertically at regular centres, and a stud finder will locate them. Fixing into two or three studs is the best outcome available on this wall type. If the studs fall in the wrong places for your shelf, screw a horizontal timber batten across at least three studs and fix the shelf brackets to the batten instead.
Dot-and-dab plasterboard over masonry
Here the plasterboard is glued to the wall on dabs of adhesive, leaving a shallow void behind. There are no studs to hit. You need fixings long enough to reach the masonry behind the void, and you must be careful not to crush the plasterboard by over-tightening.
Lath and plaster
Found in older properties, and brittle. Drill gently with a sharp bit, expect the plaster to crack if you rush, and do not rely on cavity toggles behind lath. Fix into the timber studs or, better still, into the masonry behind if there is any.
Whichever wall you have, run a cable and pipe detector across the area first. Sockets, radiators and pipework are often closer to where you want the shelf than you would expect. If you rent your home, check the tenancy agreement before making holes.
Fixings That Genuinely Hold Weight
The fixings are where cheap jobs fail. A standard nylon wall plug is fine for a picture frame and hopeless for 30kg of plant and wet compost. Choose according to your wall:
- Sleeve anchors or expansion anchors for solid brick and block. These expand against the masonry and are the default choice for a loaded shelf.
- Chemical resin anchors for soft or perforated brick, stone, or anywhere you want maximum grip. They need time to cure before you load them.
- Heavy-duty timber screws — coach screws or long structural screws — when you are fixing straight into studs or a batten.
- Metal toggle fixings for plasterboard where no stud is available. Metal, not plastic, and only where the load is modest.
- French cleats or steel rods if the shelf itself uses concealed hardware. Buy hardware rated well above your calculated load.
Treat any manufacturer's stated capacity as a figure for a perfect substrate and a perfect installation, then halve it. Use at least two fixings per bracket, and more if the wall is plasterboard.
Bracket Spacing and Load Distribution
Concealed brackets do not like being spread too far apart. As a working rule, keep support points no more than 600mm apart and aim for 400–500mm, with a bracket within 100–150mm of each end of the shelf. A 1200mm shelf with brackets only at the ends will flex in the middle; add a third support and it becomes rigid.
The shelf itself matters too. Thin 18mm MDF will sag under a heavy pot even if the fixings hold. Solid timber at 40mm or more, or a torsion-box construction, holds its line far better. Distribute weight consciously: put the heaviest pots directly over a bracket rather than between two, and keep the load balanced left to right. A shelf that is heavy at one end and empty at the other puts uneven stress on every fixing.
Fitting the Shelf: Step by Step
- Decide the height and mark a level line with a spirit level and pencil. Check you can comfortably reach the plants for watering.
- Scan for cables and pipes, then mark fixing positions using the bracket as a template.
- Drill pilot holes at the correct diameter, slightly deeper than the fixing, and clear the dust out with a vacuum or a blast of air.
- Insert the fixings and tighten the brackets firmly, but stop before you crush plasterboard or crack plaster.
- Fit the shelf and press down hard on the front edge. Any movement, creaking or gap at the wall means stopping and reassessing.
- Load it gradually. Start with lighter pots for the first week, then add weight and inspect the fixings again.
Water, Moisture and Everyday Care
Water is the quiet enemy of a plant shelf. Take pots down to water them rather than tipping a full can over the shelf, and always use a saucer or drip tray. Seal the underside and any cut ends of timber with oil, wax or varnish, and wipe up spills promptly so moisture does not sit against the wall or soak into the shelf.
Avoid positioning shelves directly above radiators, where rising heat dries timber and stresses the joints. Rotate plants every few weeks so they grow evenly, and check that trailing foliage is not levering the pot forward against the shelf edge. A quick look now and then is all this needs.
The Two-Minute Check Before You Trust It
Once a month, and again after any spell of very dry or very damp weather, press down on the front of each shelf and look along the joint where it meets the wall. A visible gap, a soft creak or a screw that turns more easily than it should are all early warnings. Tighten what you can, and if the shelf still moves, unload it and investigate the fixings rather than adding another plant on top.
If the wall feels hollow everywhere, if you cannot find a stud, or if the load you want to carry is genuinely heavy, bring in a carpenter or general builder. Fitting one shelf properly takes them very little time, and it is far cheaper than repairing a wall or replacing a smashed planter.
Photo: Lisa Fotios / Pexels